These will guarantee you the Instagram likes…
What was once the day to use up rich foods such as eggs, milks and sugar before the fasting season of Lent, Pancake Day is one of our favourite traditions. We have them every weekend for brunch, so of course we’re counting down the day until it’s socially acceptable to have them for breakfast, lunch and dinner. Trust and believe, we’ll be having them for all three meals!
Whether you’re a fan of a thin, crepe style pancake or fat and fluffy American style pancakes, there’s one thing we all agree on – they need to look good for the ‘gram. We went to see our friends at Farm Girl café in Chelsea (if you haven’t been to any of their London locations before, you must!) for a masterclass in how to make the prettiest pancakes and we nailed it if we do say so ourselves.
Want in? We were sure to take down some notes to pass on the knowledge to you fellow pancake enthusiasts! Here’s how you too can make the prettiest pancakes…
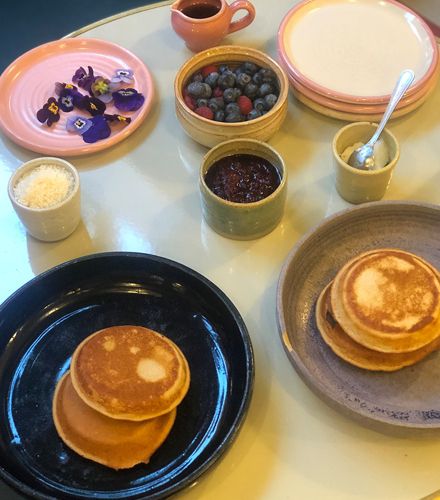
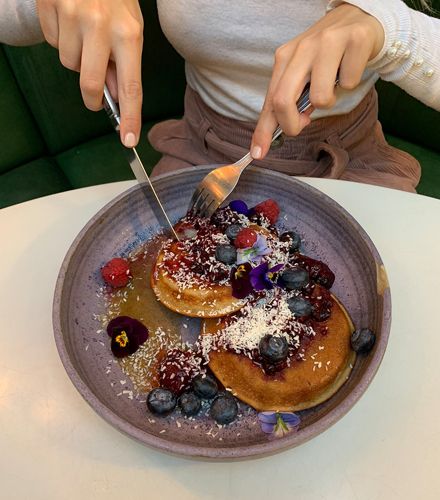
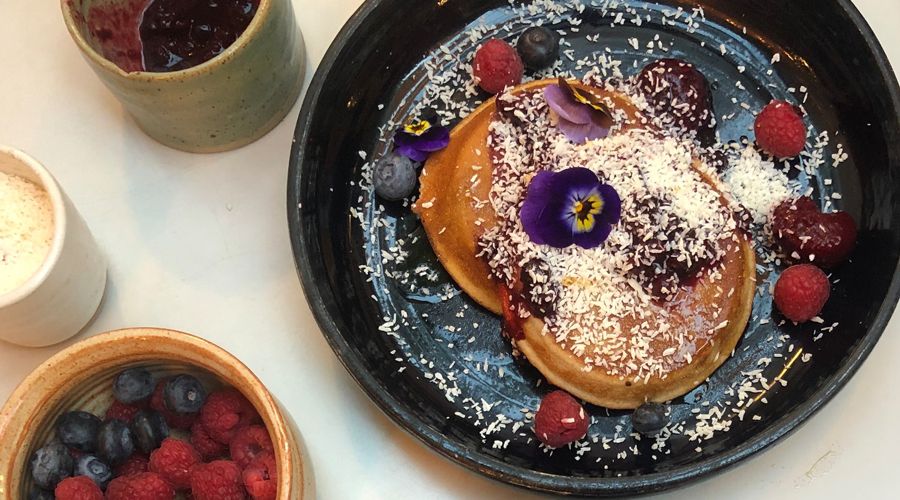
You’ve whipped up your perfect pancakes, so let’s talk toppings. Obviously they need to be in equal parts: pleasing to the taste buds and pleasing to the eye. We went for maple syrup, berry compote, raspberries and blueberries, coconut shavings and edible flowers. You can mix and match your toppings according to your preferences. Let’s get decorating!
Step 1:
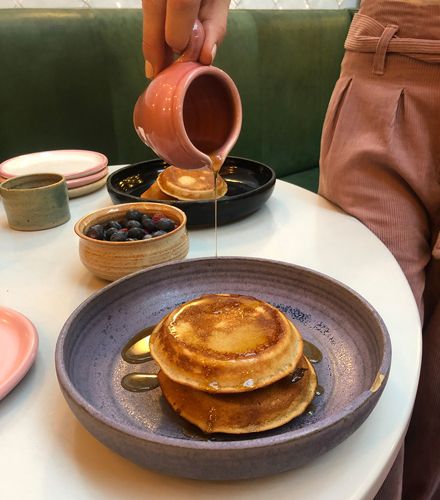
Pancakes aren’t pancakes without maple syrup, am I right? Be as generous as you like with it. We personally like to drench ours. Sorry, not sorry.
Step 2:
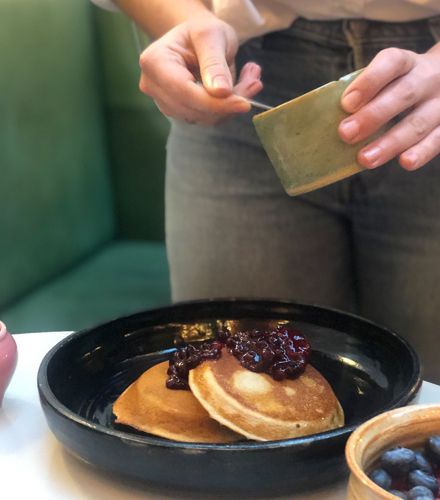
Add a generous dollop of berry compote. Not a usual addition to our pancakes but believe us, it made all the difference!
Step 3:
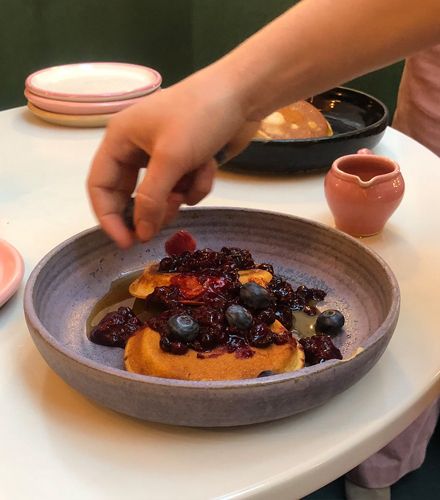
Scatter your favourite berries over the compote. Again, how many you go for is up to you!
Step 4:

Sprinkle about a tablespoon of coconut shavings over your creation.
Step 5:
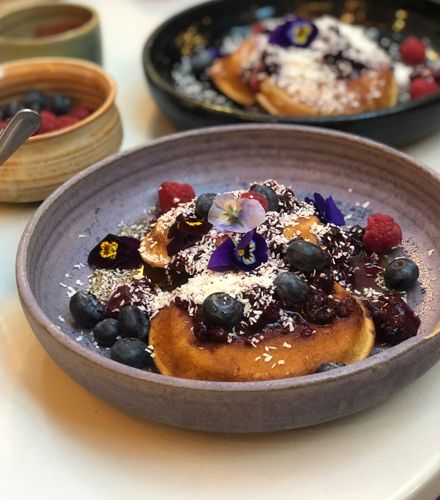
This is where things get gorgeous. Place the prettiest edible flowers you can find on the top of your delicious pancakes and voila! Get snapping for the ‘gram.
Step 6: